Showing posts with label Joker. Show all posts

Sunday, 31 July 2011

Face To Face With The Joker Part 4: Hearts


So this final Joker blog is simply something with a little bit of light hearted flavour to share with you.

As I have said in a previous blog there has been a little bit of fun along the way with his development.

Jokers Recipe:

Uno-Dent- Alignate and stone powder.
Claydium- Nylon enforced clay.
Claydium- Terracotta.
Milliput white- Two Part Epoxy.
Tamiya- Surface Primer in Grey.
Tamiya- Olive Drab.
Tamiya-Racing Green.
Tamiya- Purple.
Tamiya- Semi-Gloss Black.
Citadel- Snot Green.
Citadel- Goblin Green.
Citadel- Skull White.
Citadel- Scab Red.
Citadel- Red Gore.
Citadel- Blood Red.
Windsor & Newton- White Acrylic.
Windsor & Newton- Sap Green.
Windsor & Newton- Ultra-Marine.
Revell- High Gloss.

So those of you who know me well, know that I have a fairly easy going policy on popping round, staying over etc.. my fridge is your fridge kinda attitude and if you fancy a drink just go and get one!!!

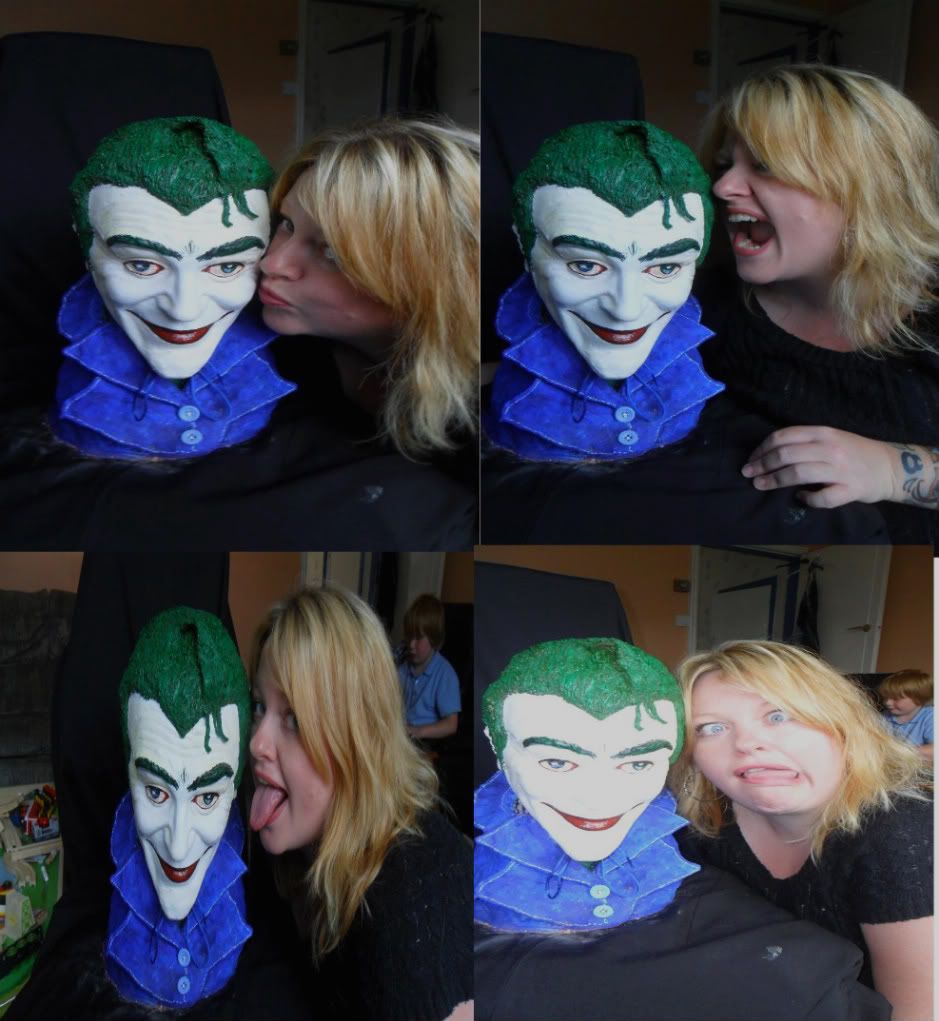
Joker fitted into family life very well.
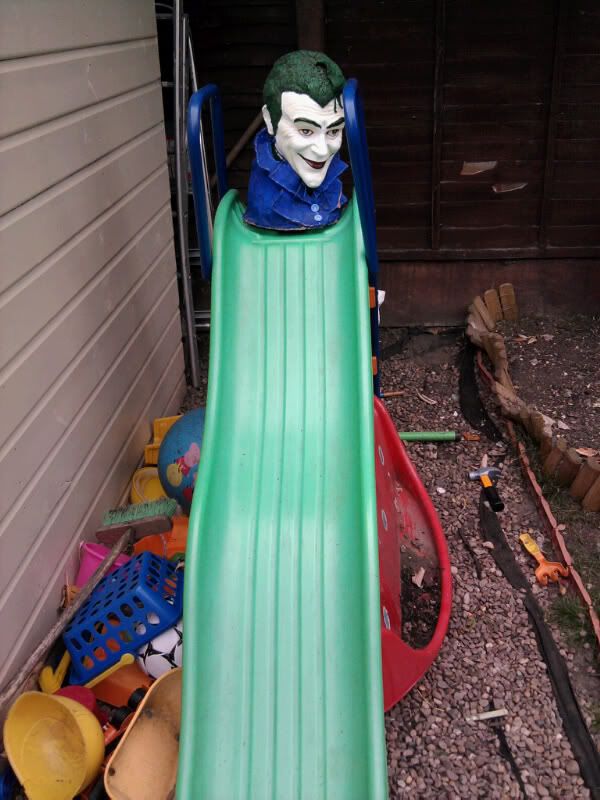


Joker has a rather impressive self grooming regime... showered at least twice a day, a hair was never outta place eyes were glistening and manic smile ready to greet is awaiting public of four five year olds bearing batarangs, handcuffs, water pistols and brooms... He took it all in good part.
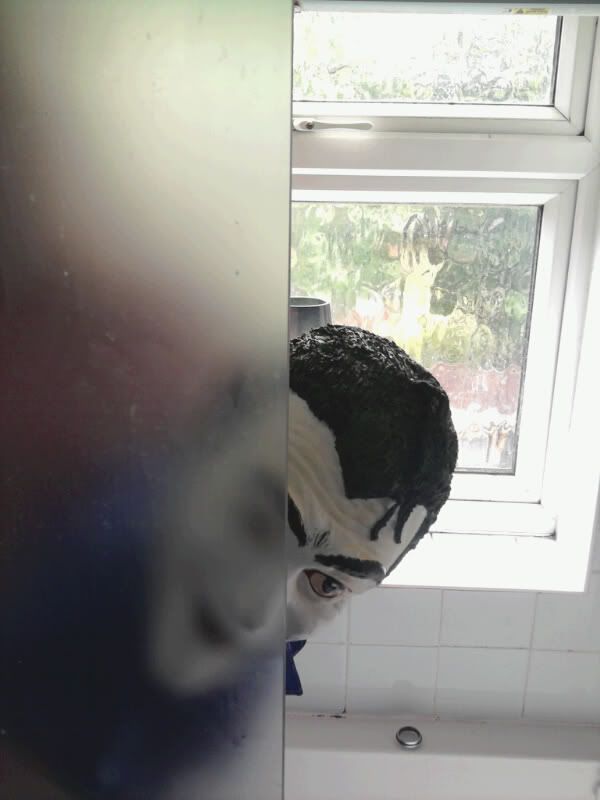


My oh my... they grow up so fast... Soon Joker wanted a place and a special someone to call his own.
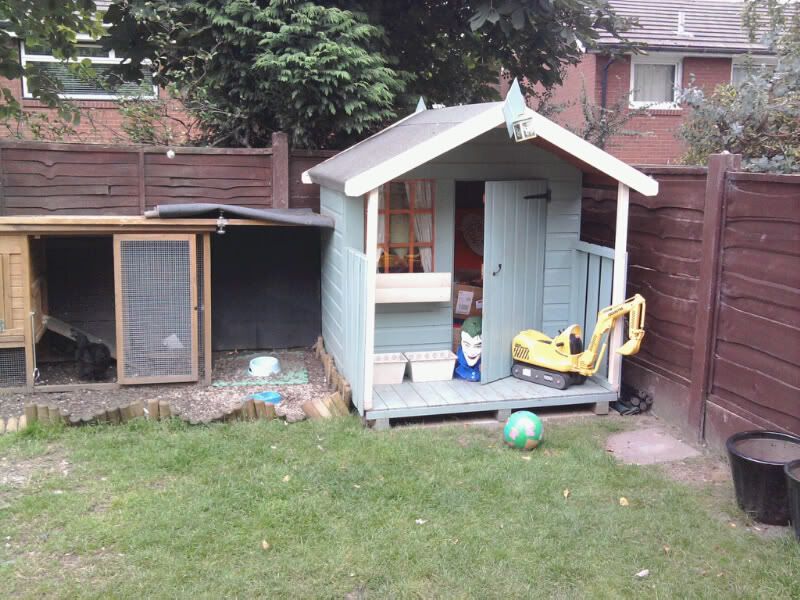


He was known to entertain the local birds and he made a mean mojito!!... which any fancy female would find it hard to resist and soon found a soul mate in one of our long standing lodgers Vultch... the cuddly vulture.


Love was in the air.....
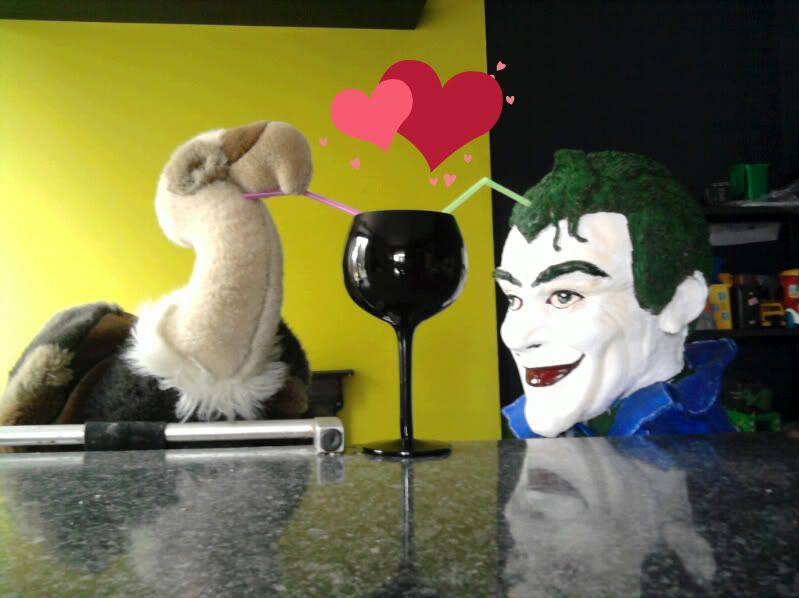


It's a rather sensitive subject and it's been very polite of you to have not pointed out... Joker has a lack of TORSO and limbs.


He never let this get in his way and soon found his favoured means of transport around the place looking like a reject from a Terry Gilliam excerpt buzzing around on his battery powered digger.
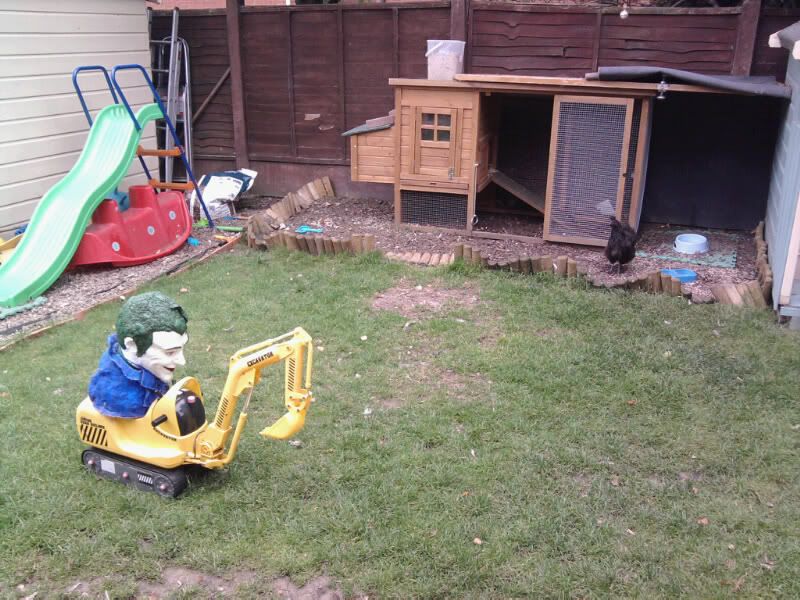


The nest was soon complete... but soon laughter was heard and all did not seem quite so right with his joy buzzard...

The final words heard were; This One'll Kill You...
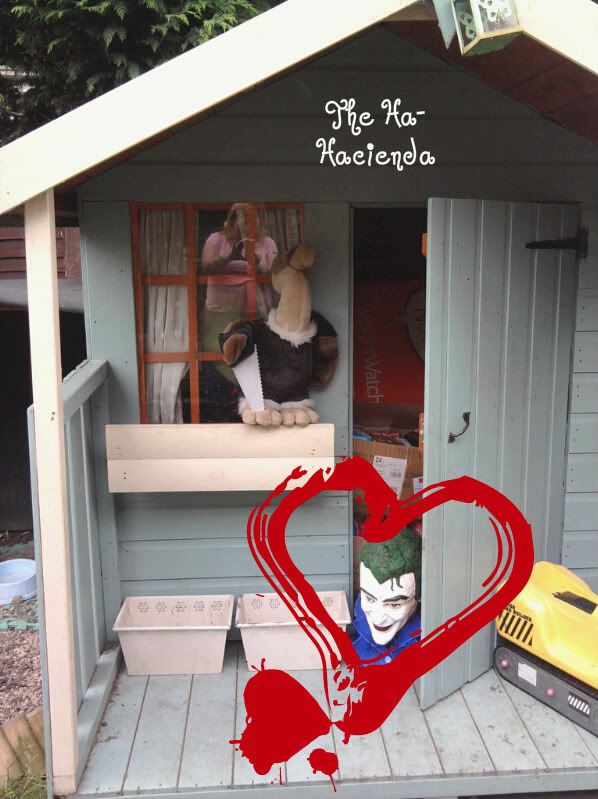


Tha-ha-ha-ha-ha-hat's All Folks!


Sunday, 24 July 2011

Face To Face With The Joker Part Three: Clubs!


So here we are on part three which will be the final blog on composition.

Using a coarse nail file and craft knife I took to making his cheeks thinner and slightly more prominent.

Stripped the original clay which formed the coat and used sheet plastic to form the shirt collar.

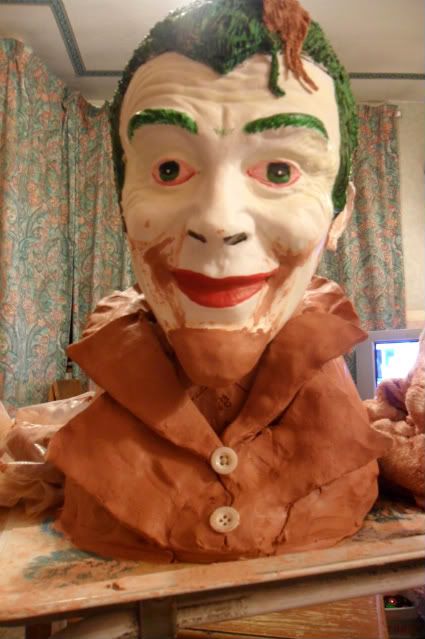
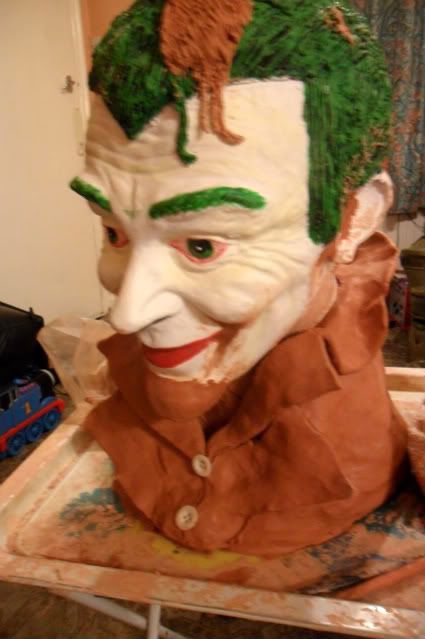
Using Terracotta a new jacket was formed as well as extending the Jokers chin and make the crows feet lines around his eyes and mouth deeper.


I chose to use terracotta for the coat as it needed to be a different clay with a heavier texture than what was used mainly for his hair and only added a few strands with the terracotta.


Using glass paper to thin down the sides of the face but leaving them slightly uneven along with the lapels on his coat.

Following the words of the great Tim Bruckner who keeps things uneven when it comes to sculpting the Joker... this is effective but I didn't want to go crazy, more 'you wouldn't notice unless it's pointed out'...

So now you know!.


It was this girls first time with a can of spray paint... SO much fun!!! but SO stinky!!!

I had used spray primer before but there is nothing quite so boring as priming.

I HATE it!! (but it's a necessity.)

His hair base coat was sprayed, as was the the base for the jacket, his face and details were hand painted.


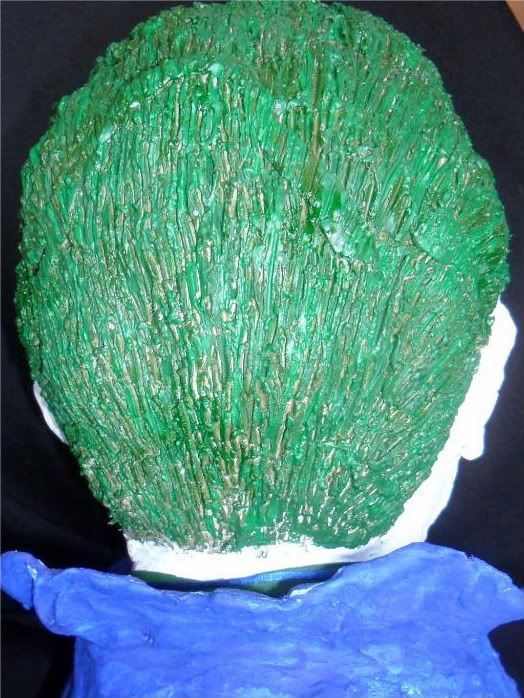
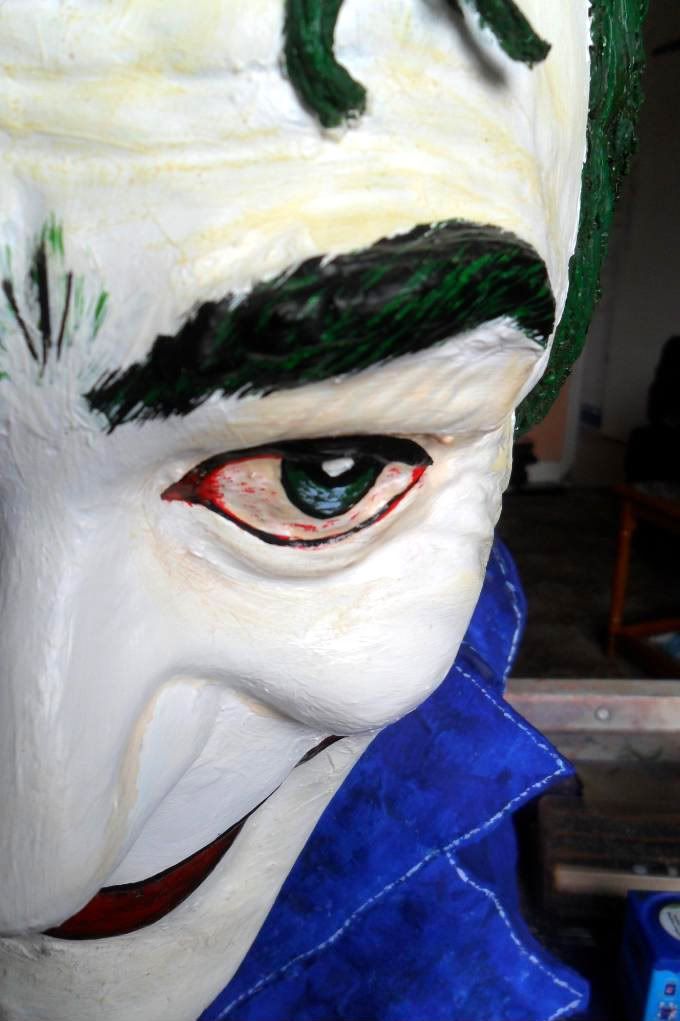
I built up colour using a selection of four greens for his hair.


Skin tone was enhanced by using pastel dust on a dry brush.


His eyes were a combination of paints and finished with a clear gloss.


In his right eye I added a shadow of Batman's reflection which; unfortunately the camera has not picked up on very well.


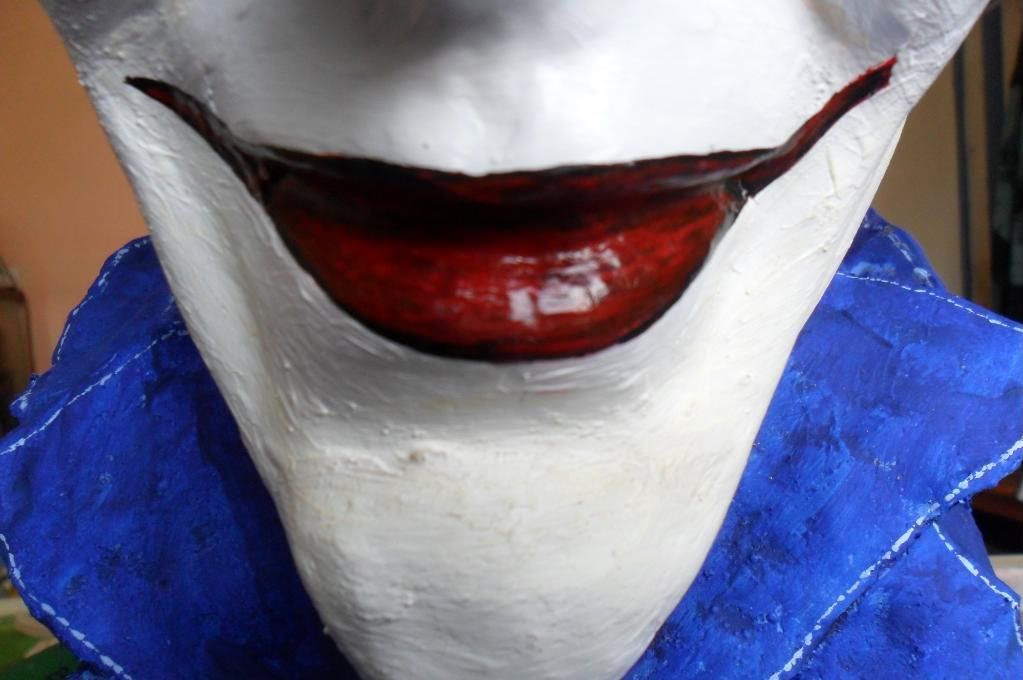
His lips were two reds roughly mixed with black to give an uneven streaky appearance and again finished with a clear gloss.


I had started to use photo reference of the normally suave Conrad Veidt.
In his film The Man Who Laughs he looks like one of the most sinister things I have ever seen.
(Though I should point out that the story is incredibly touching.)

Just loved how dark his lips appeared, this was the look I wanted for Mr J.


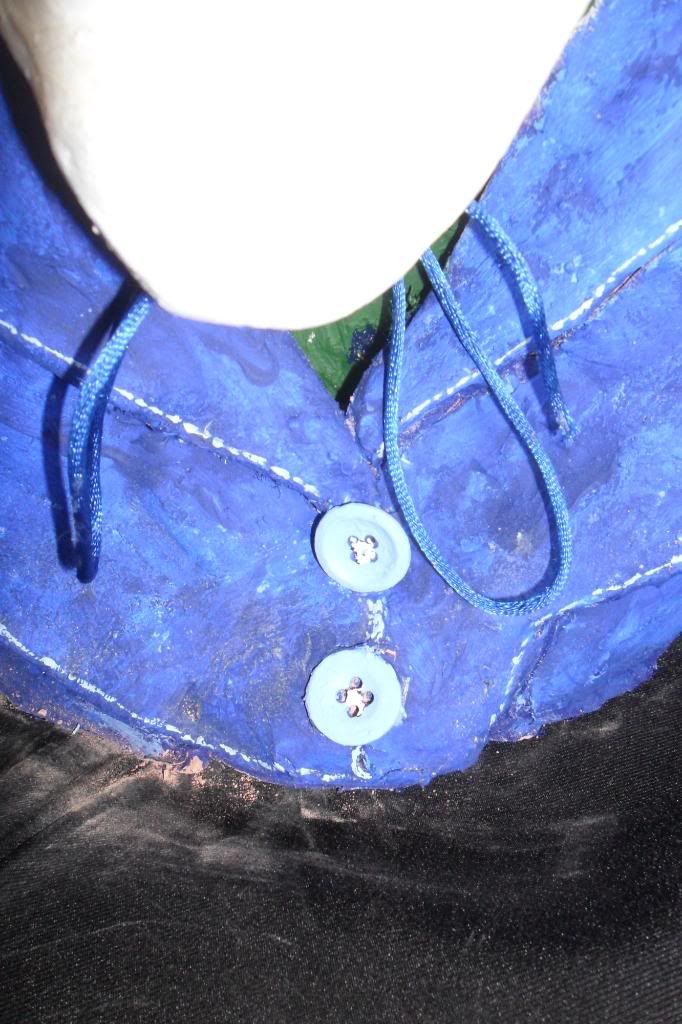
A dry cloth with dabs of paint was used to build up texture on his coat and the details of the stitching added by hand. His buttons are real and his tie a silk shoe lace.


Slowly but surely I had completed my interpretation of possibly the greatest Batman villain of all time! The Joker... (but we ALL know it's the Penguin... Right?)


Tune in next week to the final Joker blog, Part Four: Hearts where I will be posting the full recipe and for a little fun some pictures of his further escapades!

Sunday, 17 July 2011

Face To Face With The Joker Part 2: Diamonds.

Week two takes us into my faux pas, and yes... more casting and how the prince of crime became a regular part of the family!
The first thing I wanted to do was to get the permanent basics in to place.  Snapping off the make- shift ears was the first step.
I had a go at trying to make them from fimo and then from clay, but they didn't sit right.
They either looked pinned or BIG! then they would fall off.
''How can I get a realistic looking ears??''
PING! The lightbulb in my head was lit!
Off to the packet of moulding material.
YES; it says to wear gloves...
BUT there was no big X in an orange box, upside down fish or sad looking trees anywhere on the packet, just as long as I didn't ingest it, it should be cool...

To be honest, it smells kinda nice, was like using a face mask. (feel free to insert,  something about Mary Joke here if you see fit...) except the setting tickles a little... but all in all not an unpleasant experience by far.
I never realised how different my ears are until the cast was made.
I had his ears!!! these fitted perfectly in size, matched the facial material and could be attached using glue.
Now to get the damn thing to balance!?.
This was created by making a cast of a cylinder and using stone powder again.
The clay I added helped for temporary support but I wanted him to have a shirt and bootlace tie so wouldn't work in the long run to build around.
Multi-purpose glue was used to attach the head to the neck and created the correct support and shape to work with.
There we are!! starting to feel like I was getting somewhere.

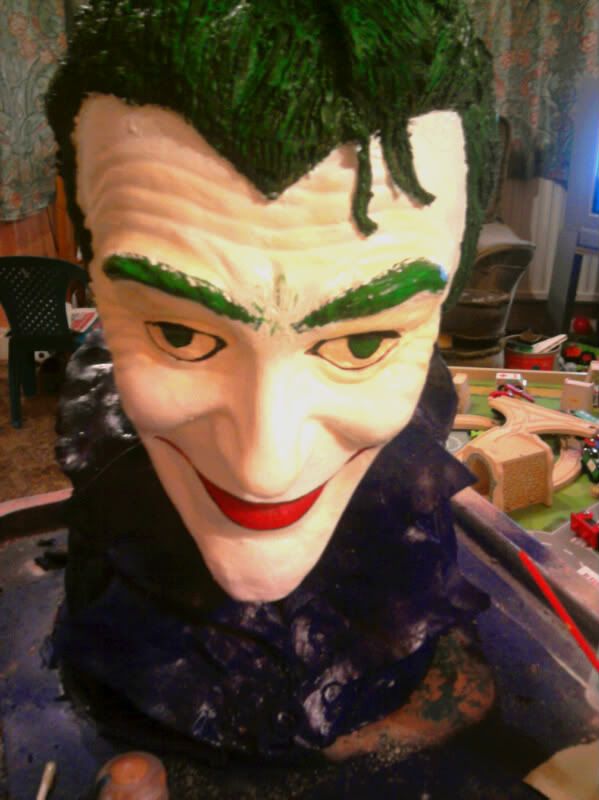
Painted his lips and hair, again... temporary,  just to help me along with a vision to the final product.

I was liking it but it wasn't quite right...
I sent it off to Doc and Rod Keith.
Doc hit the nail on the head straight away with: HE LOOKS TOO NICE!!...
He did, Doc was right!! apart from the paint he didn't really look like the Joker?
So I messed a little more with the painting.
Joker soon became a regular feature around the house.
So much so, I had kids knocking on the door to ask if they could come in and see him!
My son and his friends would let on to him... and say Hi! and Bye!!, all in all it was quite amusing.
He was being used in games, I wouldn't tell the kids where he was in or around the house... and they and Batman would hunt him down and bring him to justice!! 
Mr J was even given a hot-dog by my neighbour at a BBQ!!

                                  He was living it large baby!!


SO... apart from hangin' with friends and the family... what to do with him?
It didn't matter how much I wanted to believe that paint could sort out my problem, it couldn't.

Gill said to Doc- ''Argh... HE IS TOO NICE, what do I do?? I can't start over as it would be far to costly''.
Doc said to Gill- ''Tilt Him forward, get him to look through his brows as much as possible''.
So off I went to the Tilt!!

From here I started to work on the sculpt of his coat using nylon enforced clay and added extra height and body to his hair, painted over the eyes and lips.
They were distracting as he should have been looking up, no longer straight ahead.
It was starting to work!! it looked better, but still not quite what I wanted.


Most of you reading this will probably know geek message board poster Mr Sinister (Sin)?.
We were chatting late one night and he let me sound off to him. 
Deep down I was pretty gutted that it wasn't working the way I wanted.
In my head I pictured a first appearance Joker...
Sins words were wise.
He told me: ''To carry on and not give up on it, as it was THE JOKER but how I personally see him being, nobody Else's... as long as I worked to what I believe the character to be like it could not be wrong.''
I held this as my mantra.
Though the tilt was better, I wasn't satisfied, he had to be modified facially and his intial coat scrapped.

I gave it a few weeks, sat on my ideas and come back to it fresh so it wasn't a chore and feel like I HAD to complete it.

This helped lots... and from there it was whey hey hey! ALL the way!

Next Week: Clubs!

Sunday, 10 July 2011

Face to Face With The Joker Part 1: Clubs!!


He doesn't do autograph sessions... and like the title says: face to face! But how did we get here?


Ever heard the phrase Heads Will Roll? well this head nearly rolled down my street on a few occasions during this venture to develop my own style and improve my skill level.

I wanted to try something completely new for me, something which could be fun, something to discover something which would help me develop my sculpting… so I could have a better understanding of the materials I was using for customising and I loved the idea of making something from scratch.
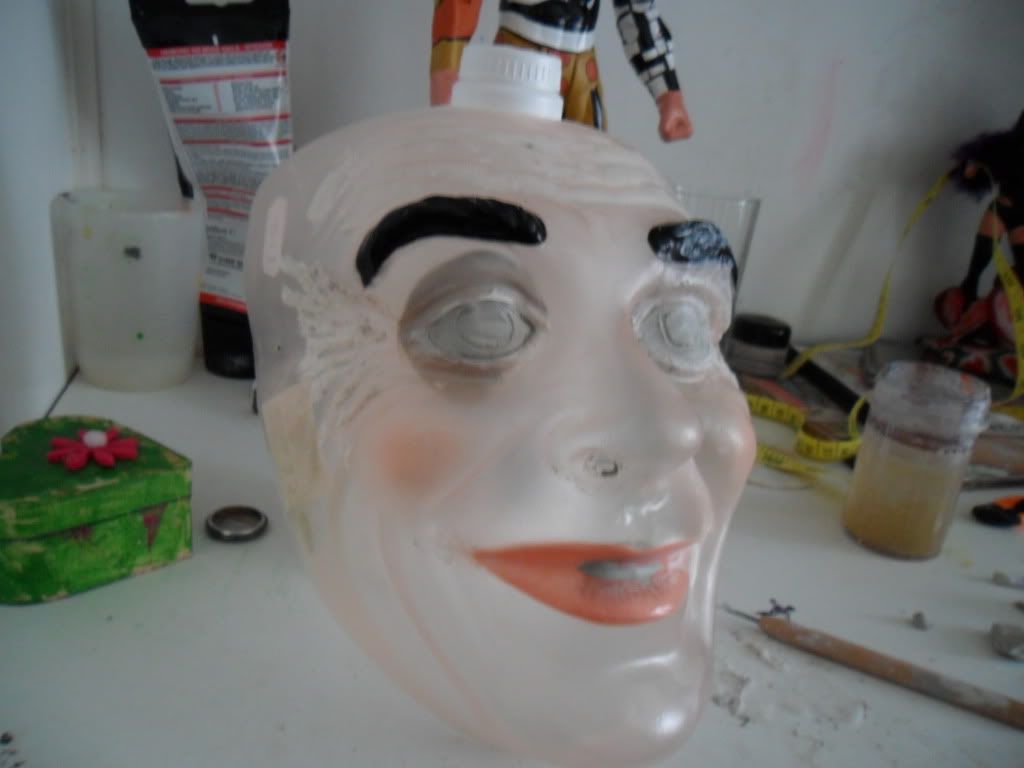
I came across a plastic mask for 50 pence, which I thought would make a good cast. So stage one was to give the mask some eyes, and I did this using nylon enforced clay as added water makes it quite tacky so would hold against the eye sockets well, and fill the nostrils and the mouth of the mask.

Then came the first attempt at casting; I used UnoDent Alginate ….  to make the cast, alas, this didn’t go too well. I didn’t apply enough and didn’t work quick enough as it set in 60 seconds….


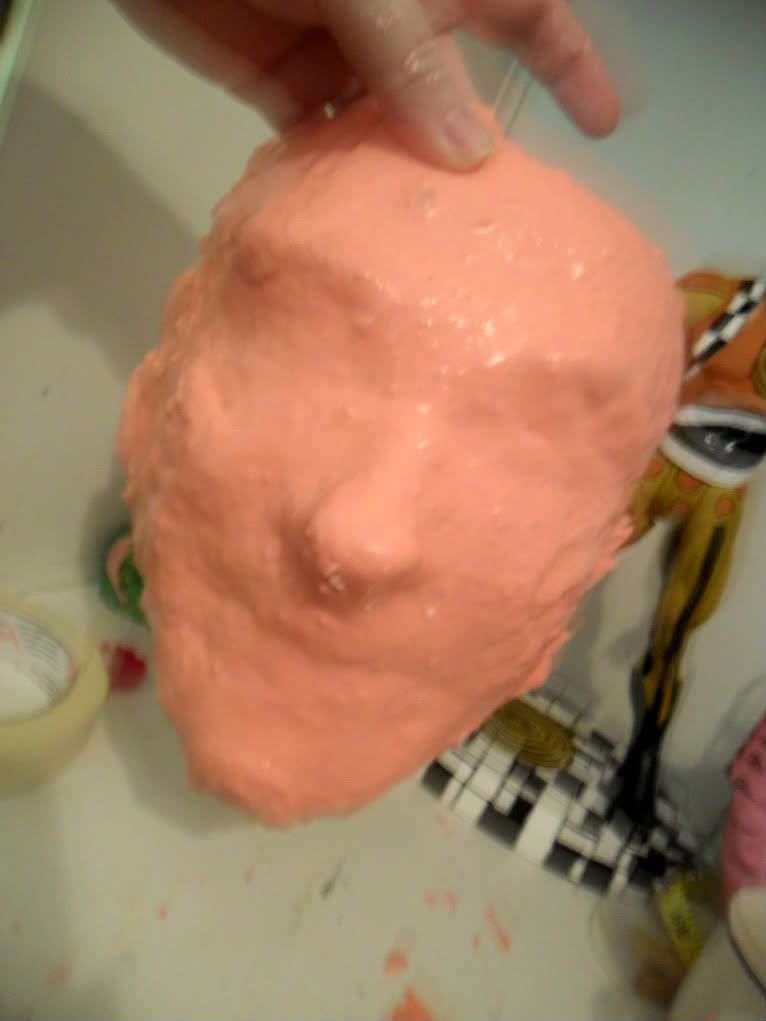
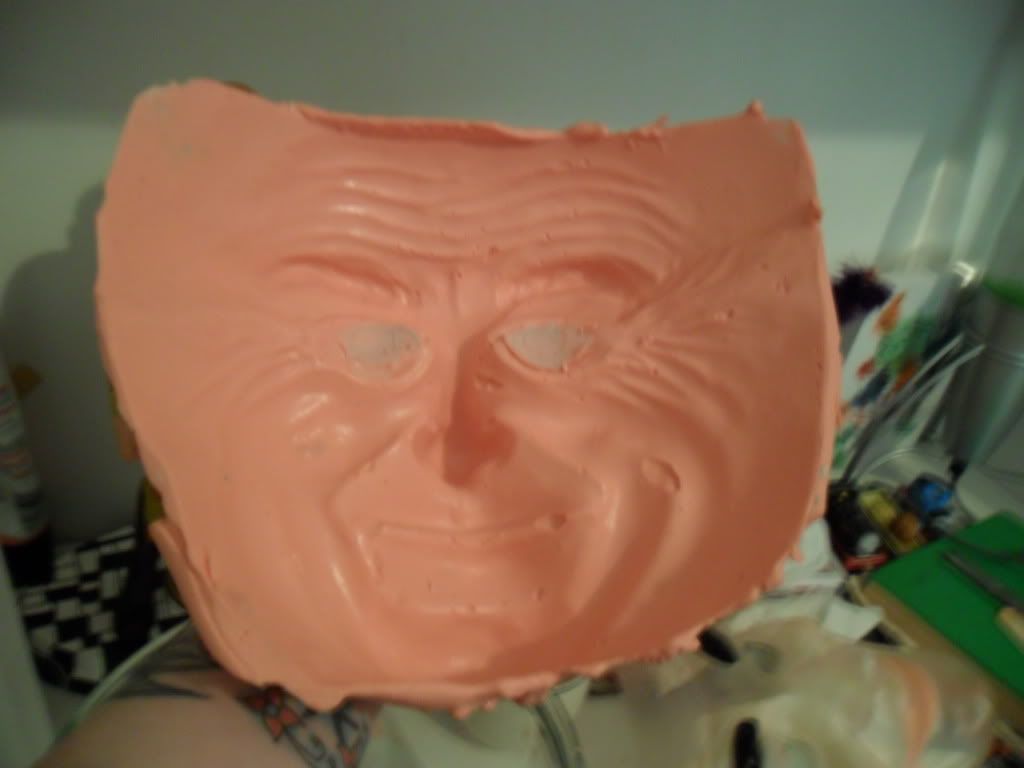
So on the third go, I got the hang of it and I came out with a pretty decent bright pink peppermint smelling cast! LOVED IT!!

The Outside


The Inside

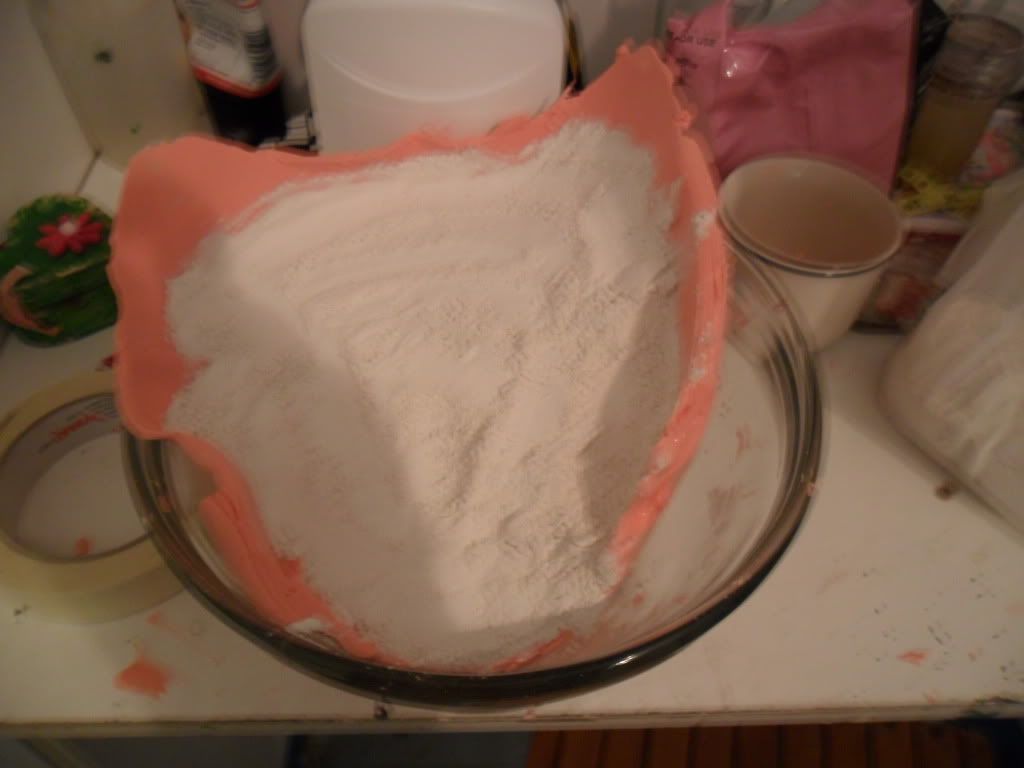
Next was stone powder. I chose this as I wanted something which I could carve and file easily, yet was heavy enough to keep the bust from toppling. The powder was mixed with water to create a thick texture, which I whisked with a cookery hand whisk to get the mixture smooth, placed within the cast within a bowl the width I wanted the face to be as the cast is rubbery so can be easily manipulated…  I spirinkled a fine layer of stone powder along the top to help soak up any excess water.


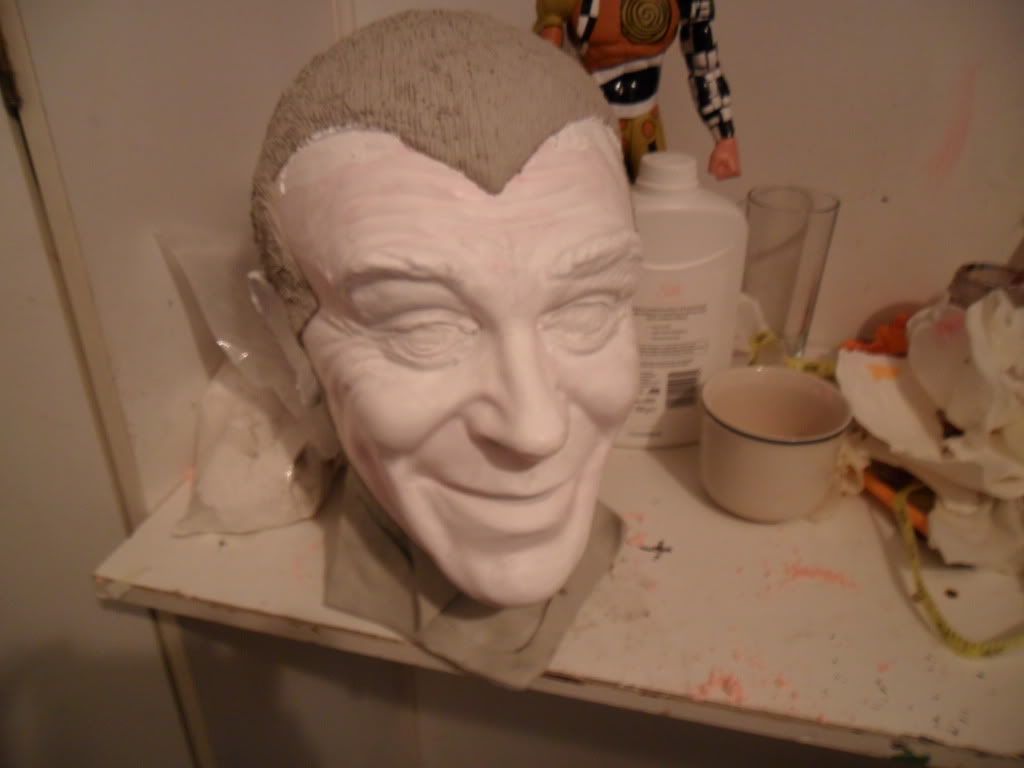
Once set, I had the start of my Joker.


I bought a cheap kids inflatable ball which I used as a base to shape - and give support, in theory - a skull so I could start on sculpting the hair.
I worked in strips using nylon reinforced clay, the same stuff I used to make the eyeballs.
By working in strips, I had enough time to plan the size and shape of the skull whilst the clay set, and gave the structure strength. I placed temporary clay ears onto the side which I used as a guide.
Once the initial layer of hair was established, the ball could be removed and a sheet of flat plastic was attached into a base of polystyrene with wire for strength so the face could be attached onto the skull/hair shape. For this, I used superglue.
Clay was placed around the polystyrene and moulded into a basic neck shape to give it a base; this made sure it was held in place without it over balancing.


Once attached I started to file down into the face and enhance lines and wrinkles, his face needed to be much thinner with exagerated features so two-part epoxy was used to create heavier depth to his eyes, brow-line, forehead and eyebrows.

Tune in next week for Part Two: Diamonds!!