
He doesn't do autograph sessions... and like the title says: face to face! But how did we get here?
Ever heard the phrase Heads Will Roll? well this head nearly rolled down my street on a few occasions during this venture to develop my own style and improve my skill level.
I wanted to try something completely new for me, something which could be fun, something to discover something which would help me develop my sculpting… so I could have a better understanding of the materials I was using for customising and I loved the idea of making something from scratch.
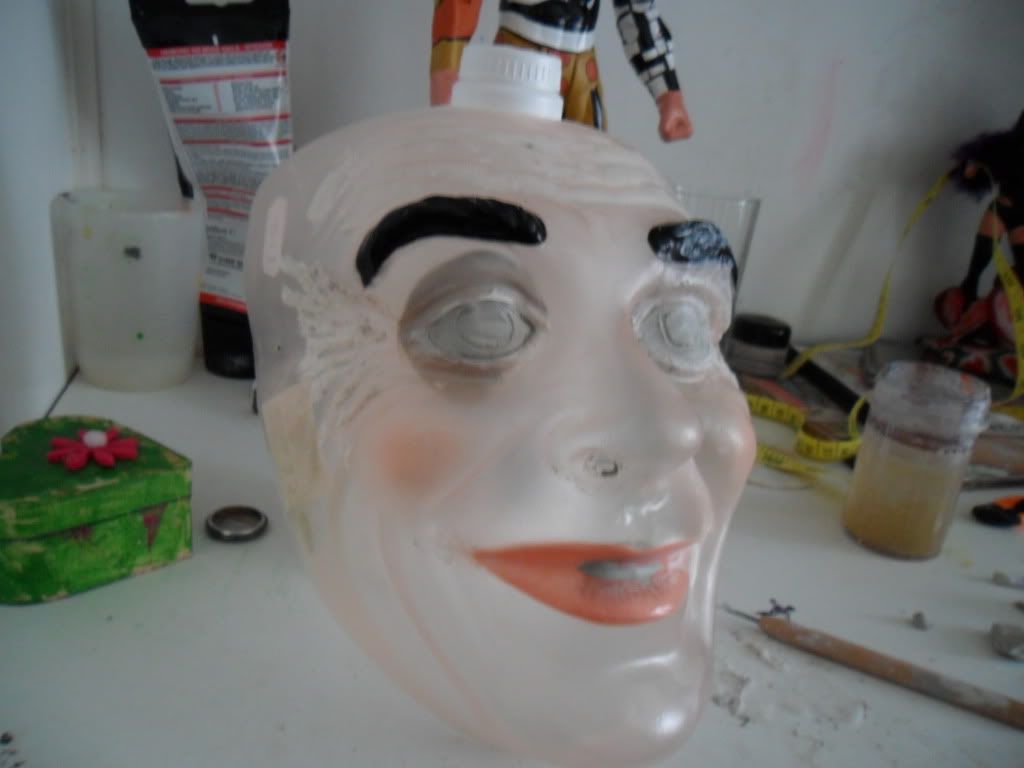
I came across a plastic mask for 50 pence, which I thought would make a good cast. So stage one was to give the mask some eyes, and I did this using nylon enforced clay as added water makes it quite tacky so would hold against the eye sockets well, and fill the nostrils and the mouth of the mask.
Then came the first attempt at casting; I used UnoDent Alginate …. to make the cast, alas, this didn’t go too well. I didn’t apply enough and didn’t work quick enough as it set in 60 seconds….

So on the third go, I got the hang of it and I came out with a pretty decent bright pink peppermint smelling cast! LOVED IT!!
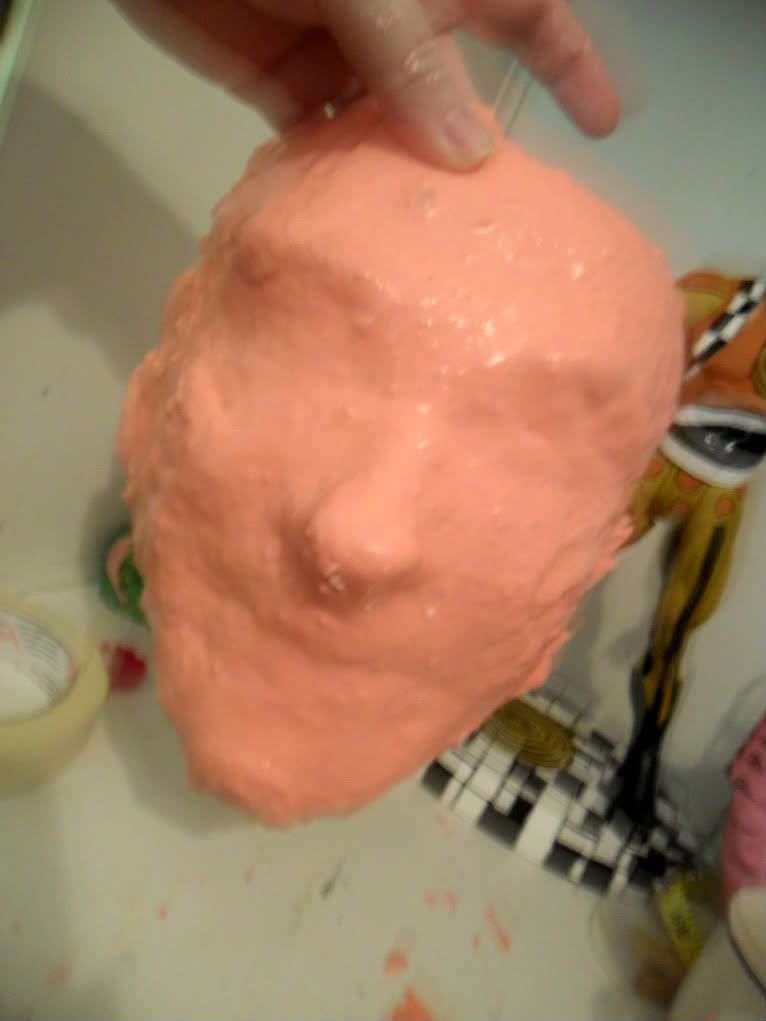 |
| The Outside |
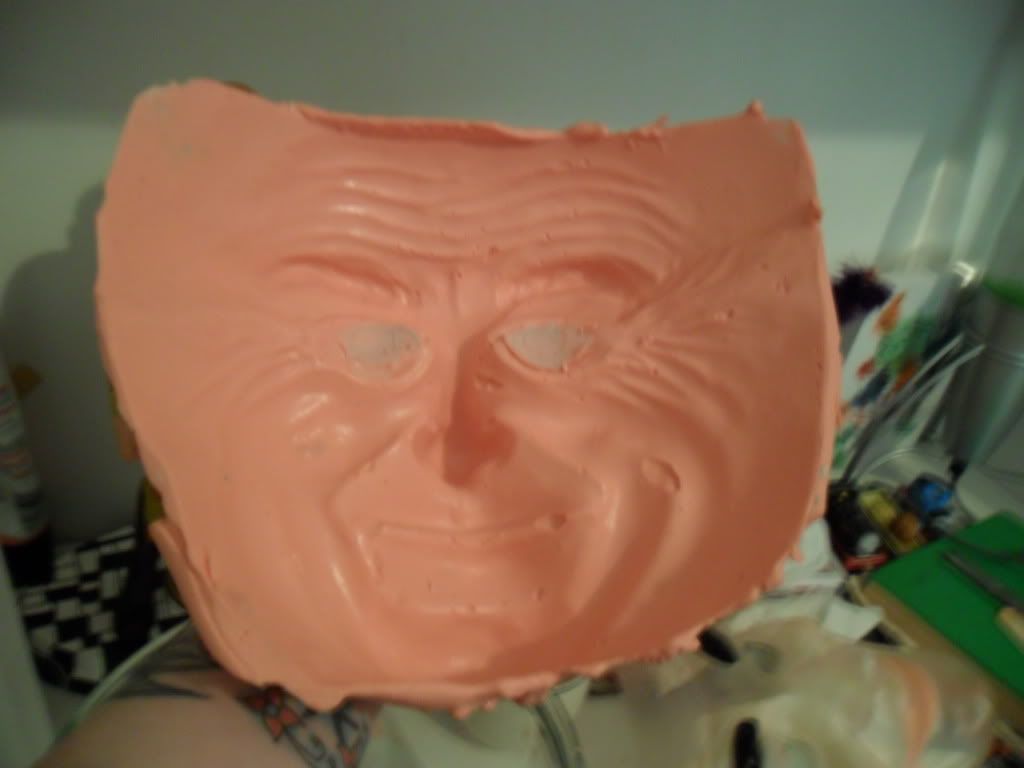 |
| The Inside |
Next was stone powder. I chose this as I wanted something which I could carve and file easily, yet was heavy enough to keep the bust from toppling. The powder was mixed with water to create a thick texture, which I whisked with a cookery hand whisk to get the mixture smooth, placed within the cast within a bowl the width I wanted the face to be as the cast is rubbery so can be easily manipulated… I spirinkled a fine layer of stone powder along the top to help soak up any excess water.
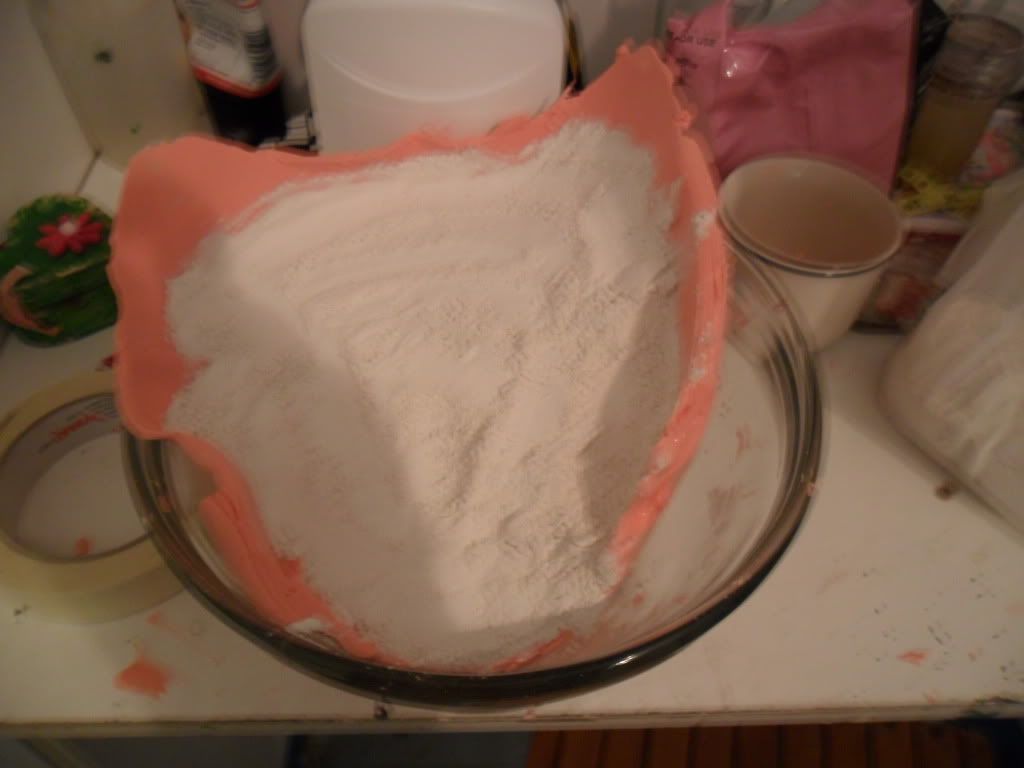
Once set, I had the start of my Joker.

I bought a cheap kids inflatable ball which I used as a base to shape - and give support, in theory - a skull so I could start on sculpting the hair.
I worked in strips using nylon reinforced clay, the same stuff I used to make the eyeballs.
By working in strips, I had enough time to plan the size and shape of the skull whilst the clay set, and gave the structure strength. I placed temporary clay ears onto the side which I used as a guide.
Once the initial layer of hair was established, the ball could be removed and a sheet of flat plastic was attached into a base of polystyrene with wire for strength so the face could be attached onto the skull/hair shape. For this, I used superglue.
Clay was placed around the polystyrene and moulded into a basic neck shape to give it a base; this made sure it was held in place without it over balancing.
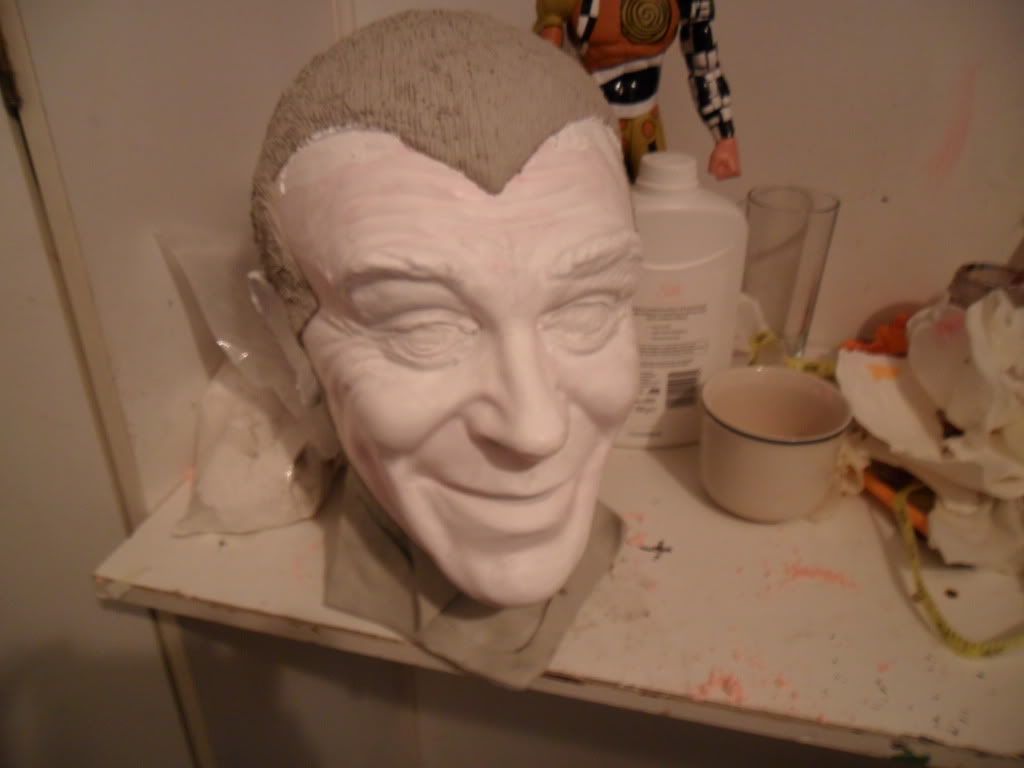
Once attached I started to file down into the face and enhance lines and wrinkles, his face needed to be much thinner with exagerated features so two-part epoxy was used to create heavier depth to his eyes, brow-line, forehead and eyebrows.
Tune in next week for Part Two: Diamonds!!
Tune in next week for Part Two: Diamonds!!
No comments:
Post a Comment